

The Brick Paver Restoration Timeline: What Happens First
Residential and commercial brick pavers can last for decades when properly installed and maintained. Over time, even the best pavers may start to show signs of wear—uneven surfaces, cracked bricks, or joint sand erosion. At Brick Paver Creations, we specialize in brick paver repair and restoration, brick cleaning, and brick paver sealing to bring both residential and commercial hardscapes back to life. Knowing the restoration timeline helps property owners plan effectively and protect their investment.
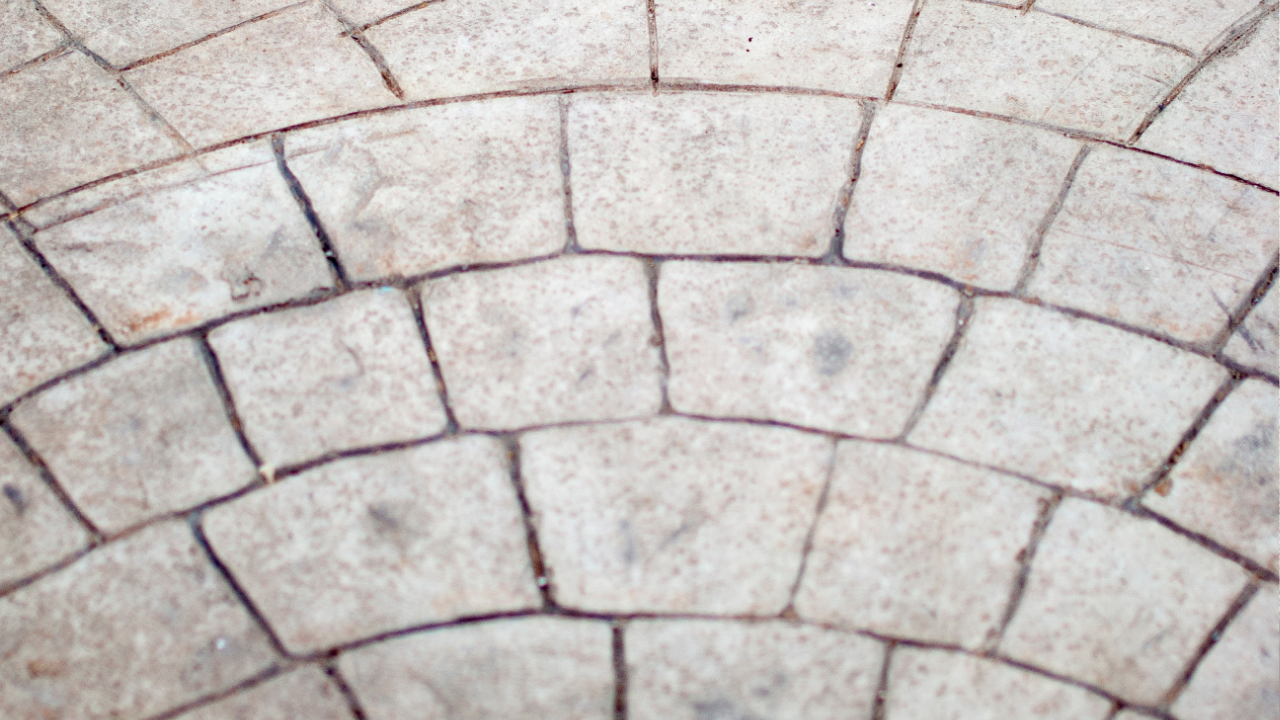
Step 1: Initial Inspection and Assessment
Every restoration project starts with a thorough site inspection. Our experts check for common issues, including:
Cracked, chipped, or sinking pavers
Eroded or missing joint sand
Uneven edges or shifting pavers
Water damage or staining
During this stage, we determine whether a simple brick paver repair is enough or if a full brick paver restoration is needed. Early detection can prevent minor problems from turning into costly repairs. You can also learn more about what to expect in a brick paver site inspection to understand the process in detail.
Step 2: Cleaning and Surface Preparation
Next comes professional brick cleaning. This step removes dirt, debris, moss, and algae that have built up over time. Proper cleaning ensures:
Pavers are free of debris that can affect adhesion and stability
The surface is ready for repair or restoration work
Sealers can adhere effectively
Cleaning restores the pavers’ appearance and prolongs their life by preventing organic buildup and staining. For more on this, see our post on the importance of brick paver cleaning.
Step 3: Brick Paver Repair and Realignment
After cleaning, any damaged pavers are repaired or replaced. This can include:
Replacing cracked or chipped bricks
Re-leveling uneven pavers
Replenishing and stabilizing joint sand
Both residential and commercial pavers benefit from this step. It restores stability, eliminates trip hazards, and prepares the surface for sealing. You might also find our guide on brick patio and driveway repairs helpful for understanding common issues.
Step 4: Sealing for Long-Term Protection
Sealing is the final stage of restoration. Applying a high-quality sealer:
Protects pavers from water penetration, stains, and weather damage
Preserves the surface color and appearance
Keeps joint sand in place, reducing erosion and shifting
Sealing is especially important in high-traffic areas. Learn more about brick paver sealing in Illinois and check our step-by-step sealing guide for tips.
Step 5: Final Inspection and Preventive Recommendations
Once restoration and sealing are complete, a final inspection ensures every detail meets professional standards. Our team also provides preventive care advice, such as:
Regular brick cleaning to maintain appearance and durability
Periodic inspections to catch minor issues early
Routine resealing for continued protection
These preventive measures extend the life of your pavers and minimize future repair costs. You can explore more preventive strategies in our post on how preventive care extends the life of brick paver driveways.
Restore Your Pavers with Confidence
Restoring brick pavers doesn’t have to be complicated. By following the timeline—from inspection and cleaning to repair and sealing—homeowners and business owners can plan ahead and keep their surfaces looking great for years.
At Brick Paver Creations, we combine expert craftsmanship with attentive service to restore both residential and commercial pavers. Visit our Contact page today to schedule an inspection or call us at (708) 372-8481. You can also email us at brickpavers@comcast.net to start your restoration journey.
For more tips, check out our blogs on common problems, sealing, and maintenance for brick pavers.